
Here’s the step-by-step guide on installing Ford IDS V121.01 software for vxdiag diagnostic scanners. Windows 10 64bit has been tested perfectly. Windows 7 works no problem as well.
Compatible all vxdiag Ford device: vxdiag vcx nano for Ford/Mazda USB and WiFi, vxdiag vcx pro, vxdiag full , vcm2 clone (using vxdiag solution) etc
Software and patch can be download here for free
How to Install VXDIAG Ford IDS V121?
Open Ford_Install folder
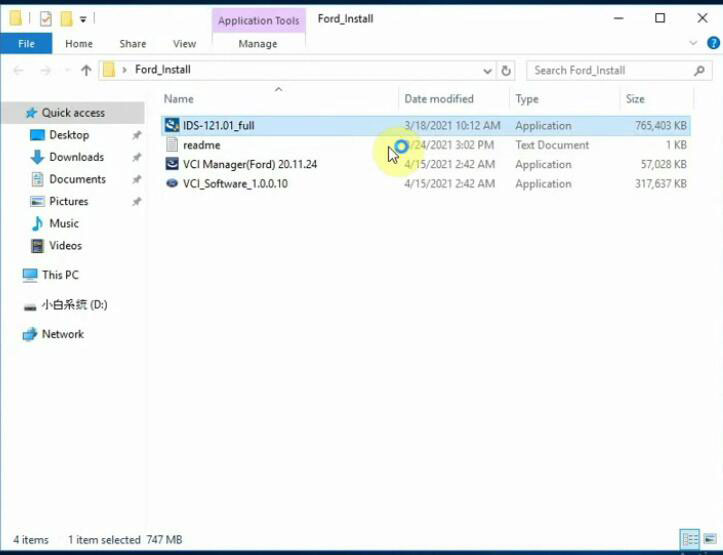
Run IDS_121.01_Full setup
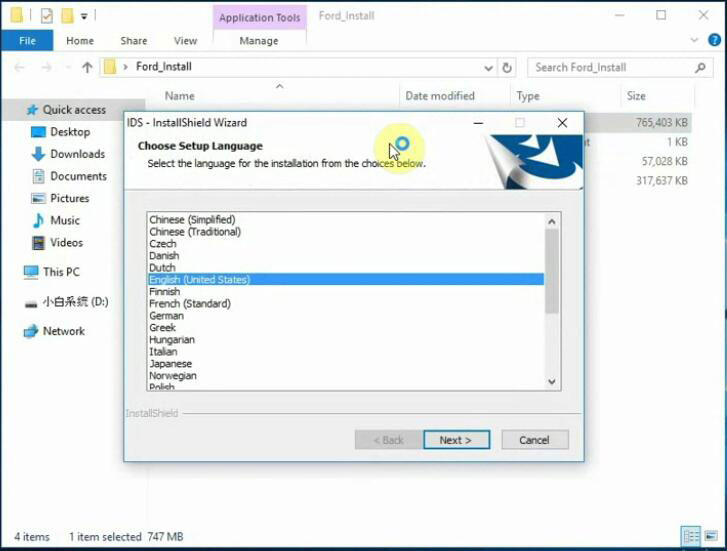
Select setup language
Press Yes to agree reboot after installing software
Press Next to Installsheild
Accept license agreement
Choose destination drive C://
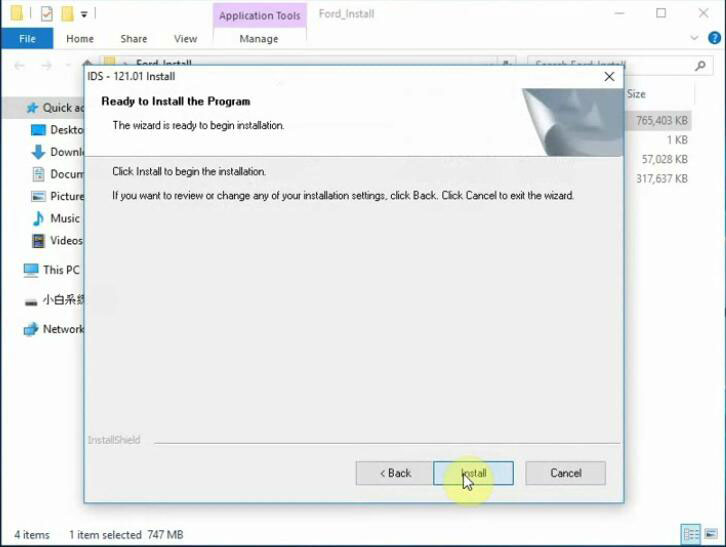
Press Install
If system prompt an update for VCI firmware is available, press OK to continue
Updating database
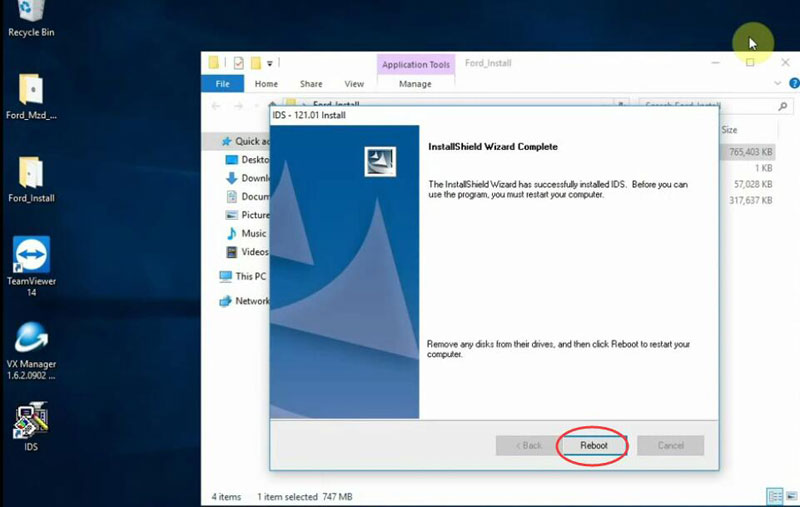
Reboot
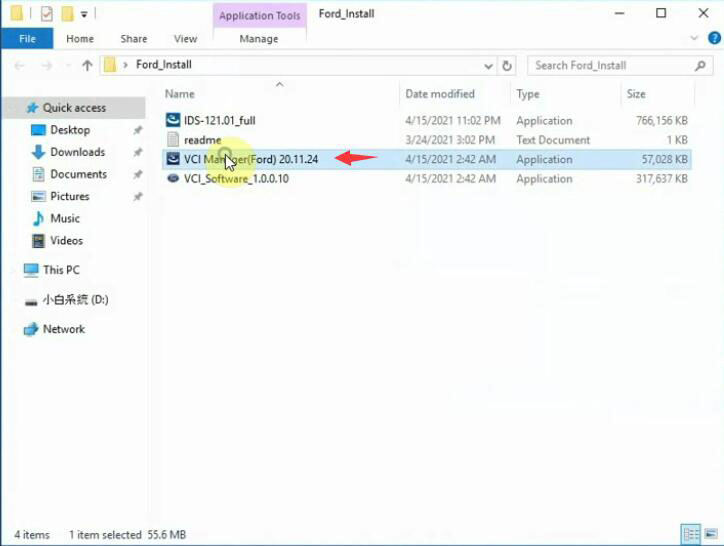
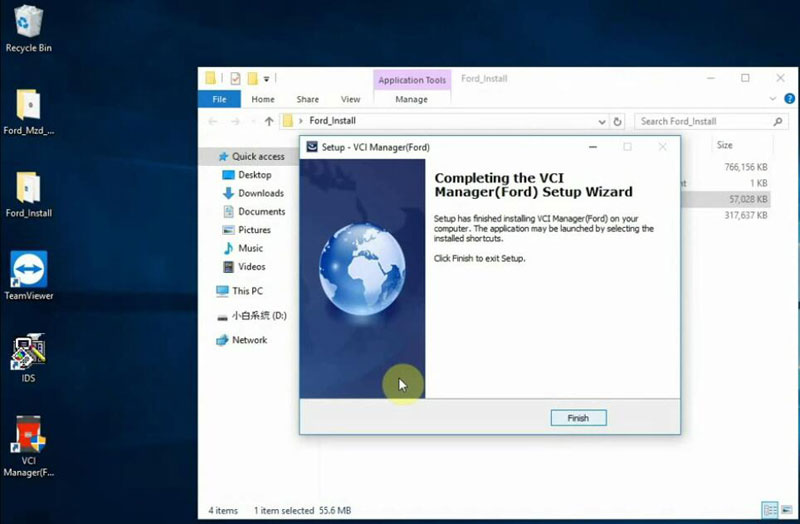
Install VCI Manager Ford driver until finish
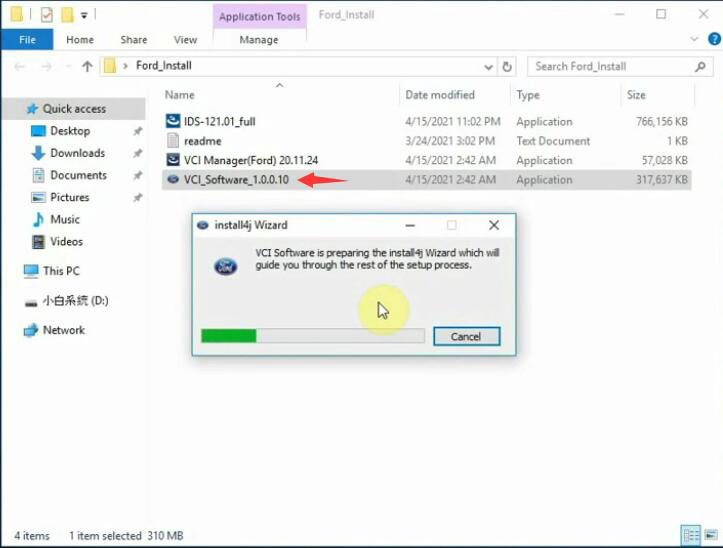
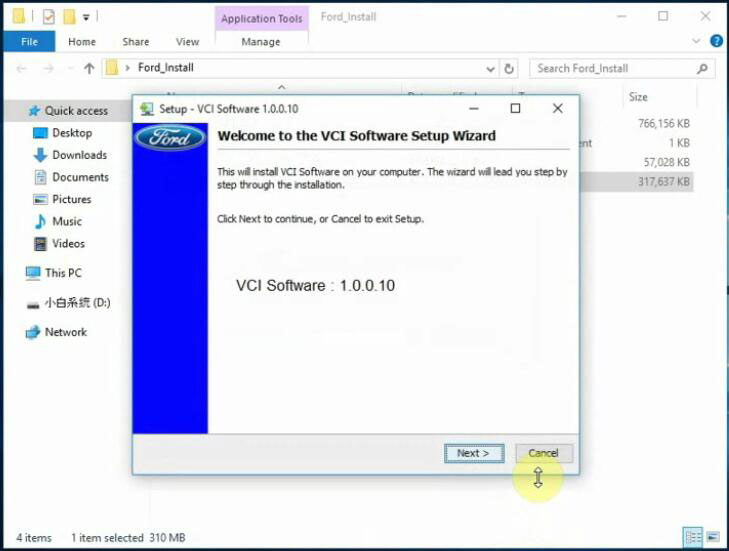
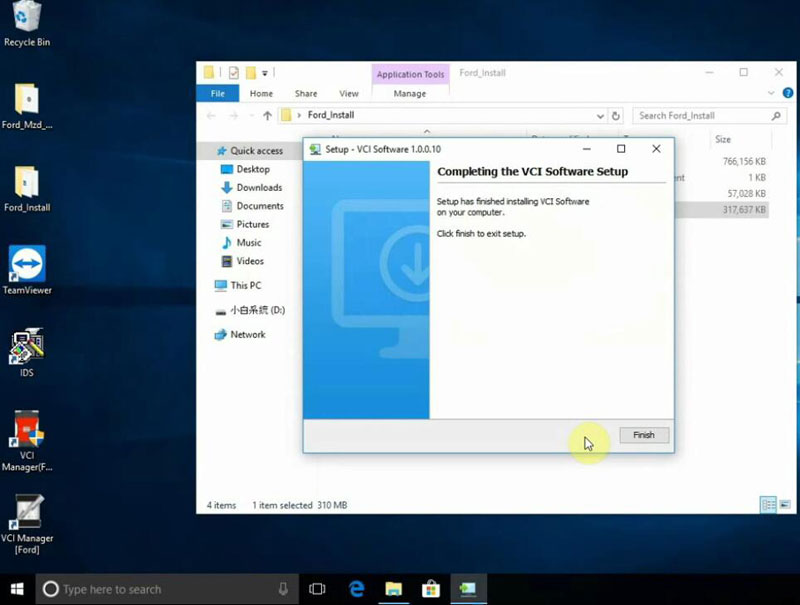
Open VCI_Software_1.0.0.10 until finish
Open Ford_Mzd_Patch folder

Copy and cut IDS_Patch to desktop
Open VX Manager V1.8.4
Select Ford/Mazda IDS software to install
Connect vcx nano device with computer
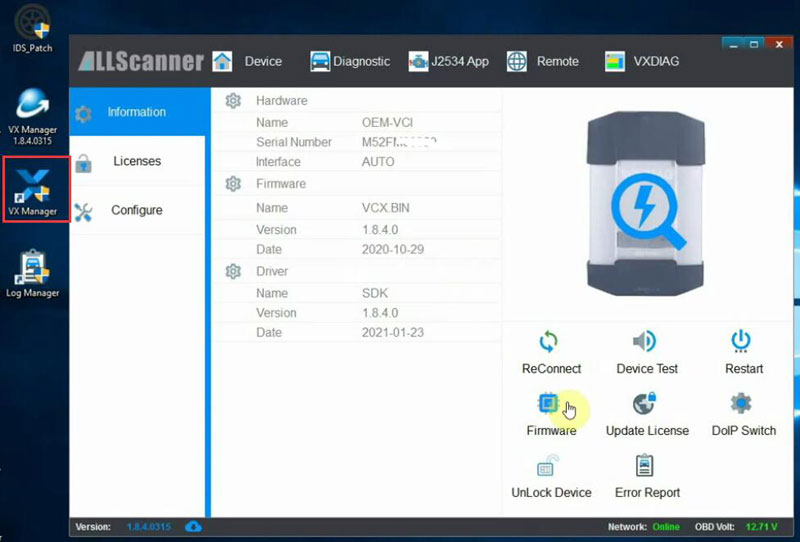
Then Open VX Manager
Check device connection
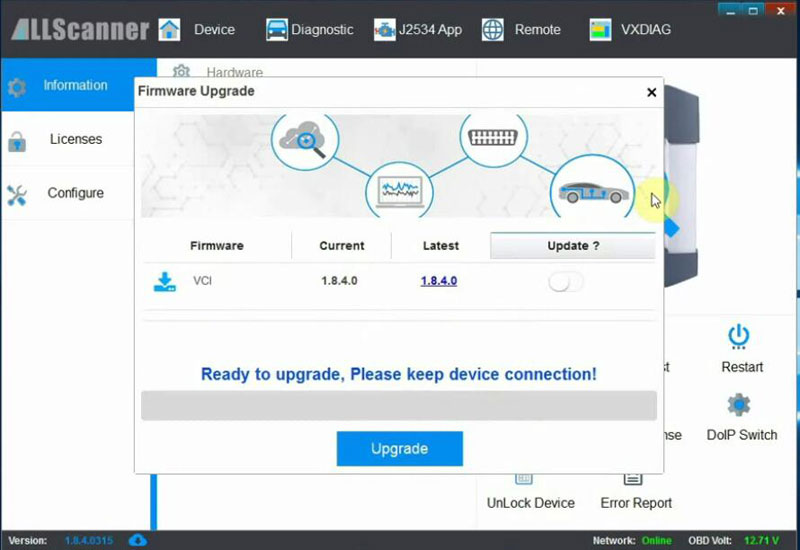
Run an firmware update if there is new VCI version
Run IDS software from Patch on desktop
Software is ready to use.
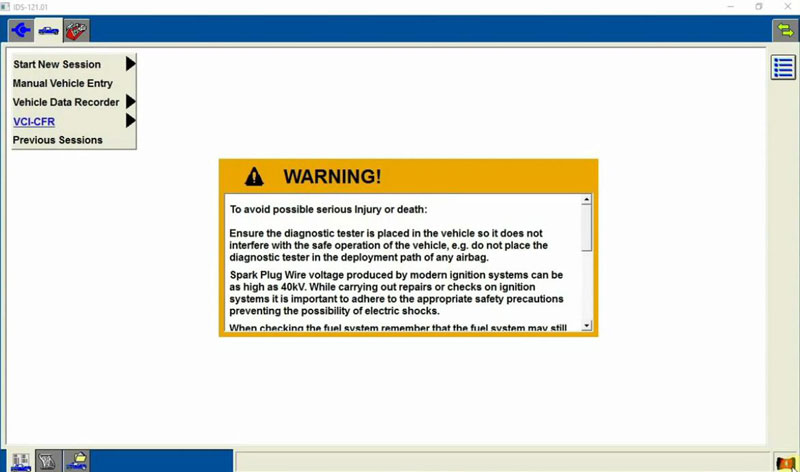
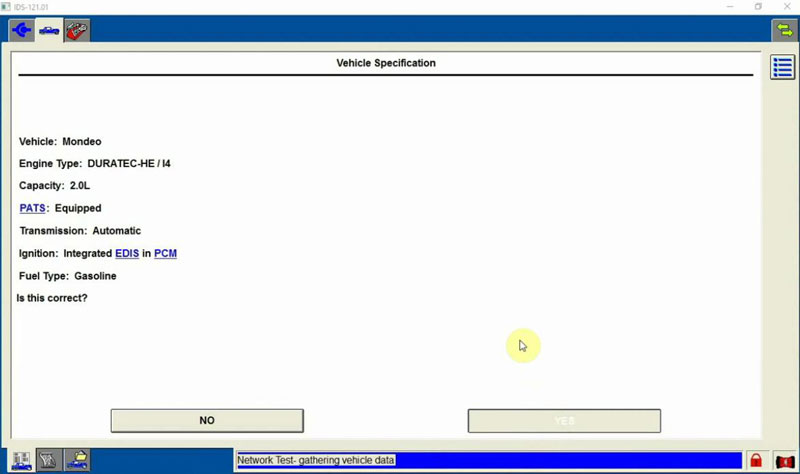
Run diagnosis or programming.