Before diagnosing the car with VXDIAG Multi Tool,you have to install VX Manager and drivers on the PC. So how do you install it? Today I will share the detailed steps for you.
Computer Requirements
Processor: Pentium 4/1.6GHz+.
Memory: 2G Bytes or more.
Hard disk: 40G or more.
Display: Resolution 1024×768 or higher.
Network interfaces: LAN 10/100M or 802.11b/g.
Communication Interface: USB2.0 or USB3.0
Operating System:Windows XP/Vista/Win7/Win8/Win8.1
- You can install the program on the CD-ROM included in vxdiag, or download it from the official website.
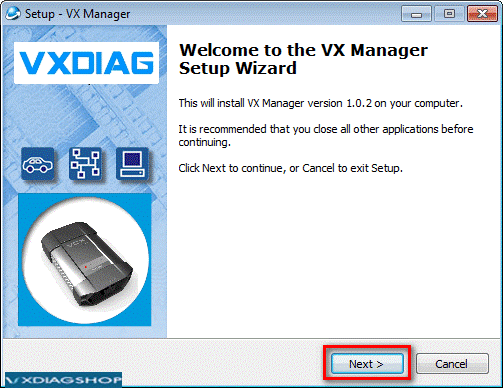
- Find VX Manager.exe and run it to setup.

- Click [Next]
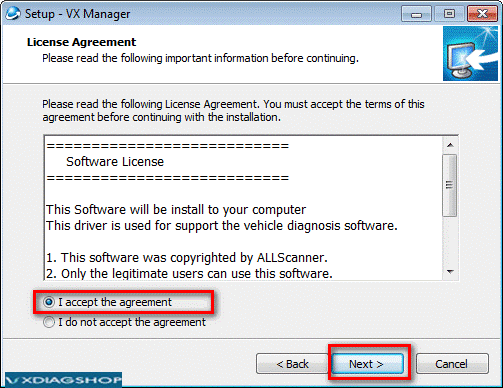
- Select [I accept the agreement],then click [Next]
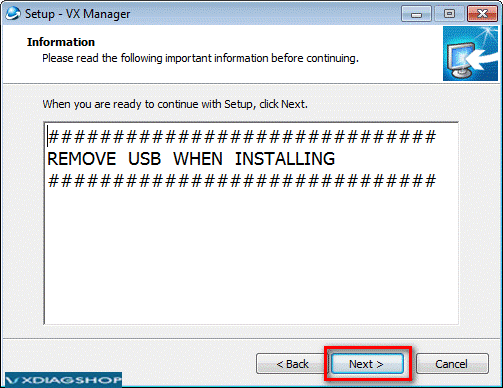
- During installation, disconnect USB cable to the PC, then click [Next]
- Software Installing……
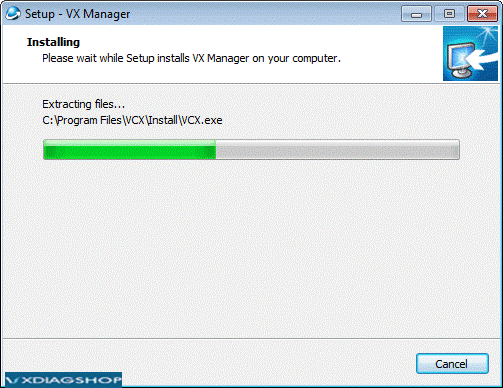
- VXDIAG SDK Driver installing……

- Setup complete.click [Finish]
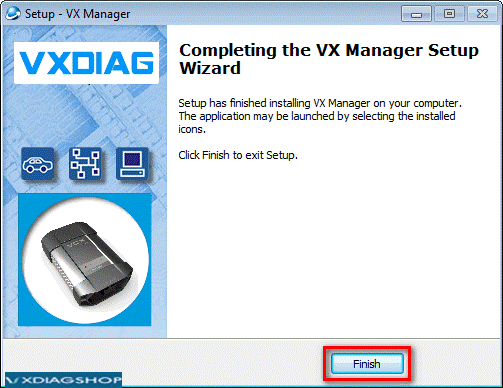
- Setup complete. The shortcut will create on the desktop

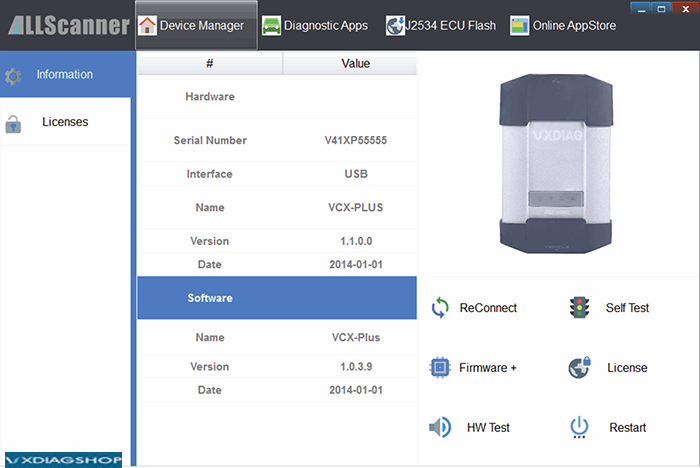
PS: Connection device and run VX Manager, The information of device will be displayed in “Device Manager”.